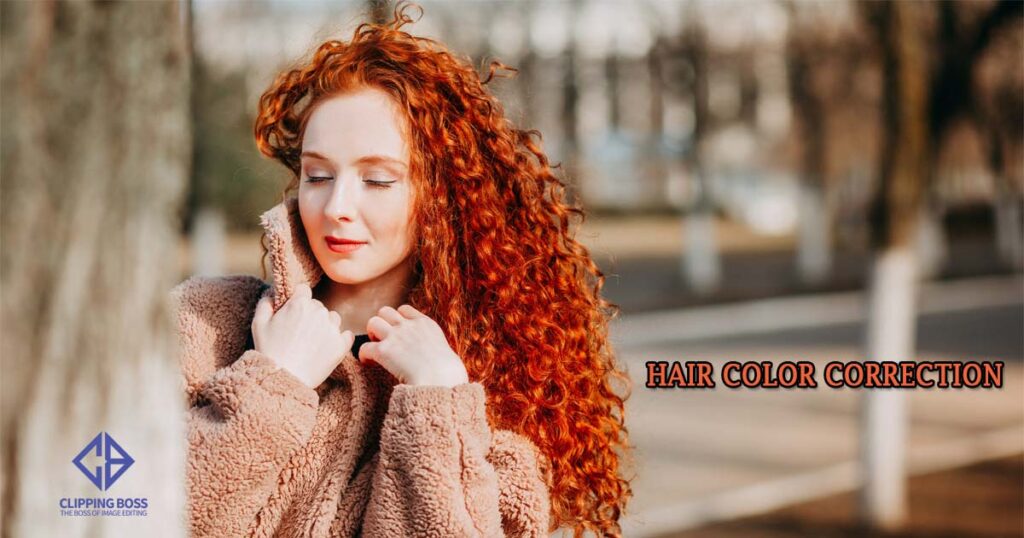
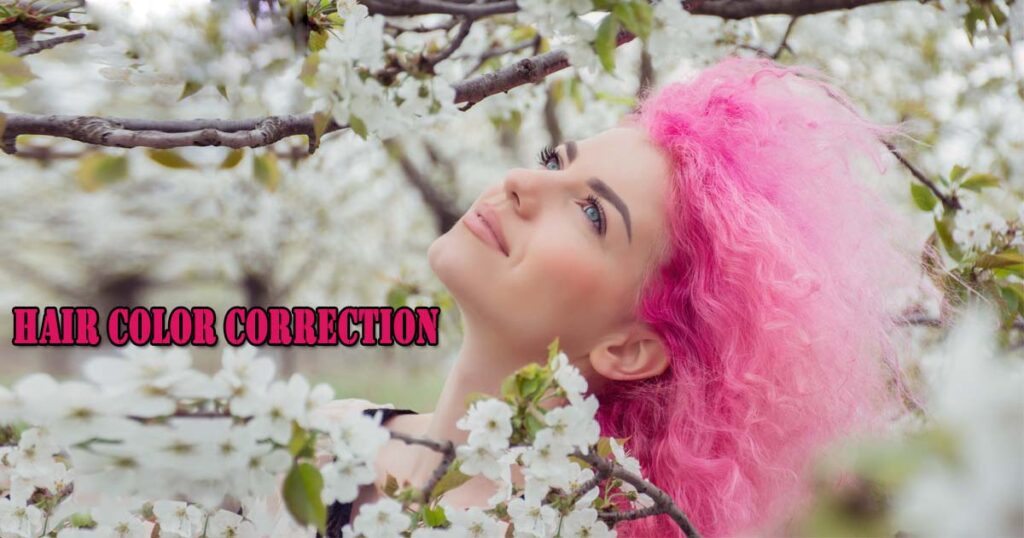
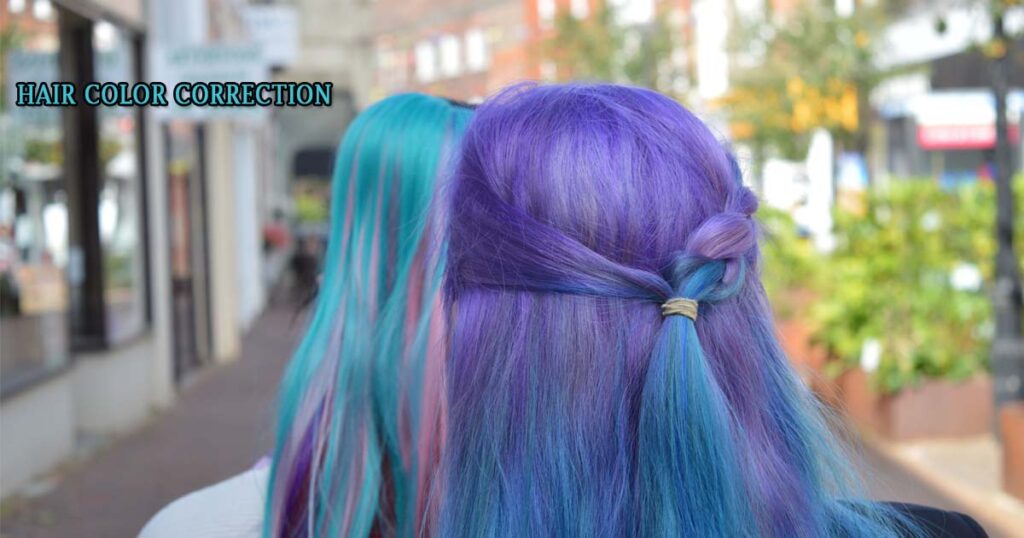
Hair color correction is very important for fashion photography. After photography, there is no way to change hair color correction. On Tiktok, Instagram, and Snapchat, there are filters that allow you to see how you’d look with different hair colors. If you’ve ever fancied cotton candy streaks, a honey brown hue, or blonde highlights, your phone can probably give you a pretty good idea of what your new ‘do would look like. Unfortunately, the quality of these video filters is usually low. You might have even wondered if there was a method for you to replicate the effect.

And, as is typically the case when it comes to Photoshop, there is! This guide will let you change the color of your hair in any of your images, albeit it won’t look as natural as your own hair. It looks best on hair with a distinct edge, such as the one pictured below.
How to Hair color correction?
Hair Color Correction in Photoshop is a tactical enhancement, and there will logically be numerous procedures to achieve the best results. However, once you’ve completed the procedure, you may apply it to any photo by altering the mask show/hide option and making significant changes to it. So, let’s get started and learn them one at a time.
By the way, we’re displaying hair color correction before and after photos here to give you an idea of the enchanted task we’re about to embark on.
1. Copy the layer in Photoshop when opening the image.
If you need to redo any stages later, it’s best to preserve a copy of the original photo somewhere in the Photoshop document. It’s also necessary for preserving the non-edited elements of the photo intact in this tutorial.
2. Make a hair mask—and then modify it.
There are probably hundreds of ways to cut off a portion of an image in Photoshop; a complete guide to making cutouts can be found here. You are welcome to deviate from the following instructions and skip to step 3 if you have your own preferred approach.

A. Standard method:
To walk through the process, start by drawing a rough shape around the hair with the polygonal lasso tool. Then, in the layers panel, click the mask icon picture. You’ll notice that the only thing visible now is the hair if you click the eyeball beside your background layer.
If that’s the case, you’ve made a mask. Anything you create in black on this mask (seen as a black and white square to the right of the layer in the layers panel) will be hidden, while anything you draw in white will be visible.
To fine-tune the mask, use a small brush with a medium softness to draw black on the sections you don’t want until the hair floats freely in the transparent background checkerboard.
How to Change the hair Color correction of Your Hair in Photoshop?
How to hair Color correction in Photoshop? And How to Change the Color of Your Hair in Photoshop using a Mask? Depending on the photo, you may choose a crisp or softer edge to your mask. Light colors and pastels, in general, work better with something precise, whereas colors that are closer to your true hue will look more authentic with a feathered mask.
After you’ve created your mask, double-click it to change the smoothness, fading, and contrast. You can also utilize the “shift edge” controls to adjust the mask’s outline closer or further away. When dying your hair to be lighter or brighter, I’ve found that a more precise mask is essential to bring the impact out to all those edges.
When darkening your hair, a soft mask usually gives you a more realistic result. These aren’t specific rules, of sure. Feel free to come back to this stage after you’ve “colored” the hair and play about with the mask options since it’s frequently easier to see when you’re working on top of your original picture.
3. To dye the hair, use the “colorize” tool.
Click on the image of that layer once your mask is ready. Under Image > Adjustments, select Hue/Saturation. Click the “colorize” button at the bottom of the pop-up and drag the sliders around until you have the hair color you want. In order to look realistic in the shot, you may need to make it duller or darker than you anticipated.

Make the mask more lifelike by editing it.
4. Make the mask more lifelike by editing it.
Now it’s time to activate your original photo layer and see what you’ve got! It’ll probably appear odd at first, and you’ll have to go back and tweak a few things. Discover some teal hair dye on my forehead in the photo below. That needs to remove. And the mask is also overly sharp, indicating that the shot is altered. To remedy these issues, I used a brush tool to clean around the mask and then went back into the mask options box to increase the feather.
This mask isn’t ideal, which is why you should zoom in and alter it!
If you enjoyed this video, you can experiment with changing other aspects of your appearance, such as the color of your shirt or the color of your eyes. And is the Snapchat filter that colors your hair for you is still on your mind? Make your personal Snapchat filter using this tutorial.
Why limit yourself to just hair? Change your look as well!
5. Color Selection for the Hair and hair color correction
Drag the Hue slider left or right to select the color of the person’s hair. For the time being, you’ll be coloring the entire image. This will be remedied in the next phases. For the time being, ignore the rest of the image and focus solely on the hair. When you’ve decided on a color, drag the Saturation slider to the left or right to modify the value. Sliding it to the right raises the saturation while dragging it to the left lowers it. Don’t worry about getting the hue and saturation just right because you may always tweak them later. For the time being, I’ll set the Hue to around 35 and the Saturation to around 85. Select a new hair color with the Hue slider, then adjust the tone with the Saturation slider. The woman’s hair, like her skin, has turned an orange-red color.
6. Magic of The Brush Tool for hair color correction
All we need to do now is apply a layer mask with neutral colors over the hair to restore the colorizing effect. it applied only to the hair. The Hue/Saturation adjustment layer’s results will be visible wherever we paint with white on the layer mask. The effects will be hidden wherever we paint with black. Begin by selecting the Brush Tool from the Tools palette or by using the keyboard shortcut. So, press the letter B on your keyboard to select it.
We need to paint with white on the layer mask to display the colorizing effect on the hair. Photoshop has already changed our Foreground color to white for us, as indicated in the Foreground and Background color swatches near the bottom of the Tools panel. The Foreground color is represented by the swatch on the left, while the Background color is represented by the swatch on the right. By the way, if the colors aren’t black and white, press ‘D’ to select the default option. You can also toggle between black and white by using the ‘X’ key on your keyboard. So, pushing once changes it from white to black, and pressing again changes the hues.
As shown in Photoshop’s Tools palette, our Foreground color is white and our Background color is black. We also know we’ve selected our layer mask because the thumbnail for the layer mask in the Layers palette has a white highlight border around it, as shown in the image for Step 4 above.

why choose us for hair color correction?
Photographers that require a quick response and high-quality service can use these hair color correction services. Clipping Boss will take care of all your requirements quickly and efficiently. If you don’t have time to change shadows, tones, white balance, and other hair color correction settings on your images.
Despite the fact that there are thousands of online Hair color correction firms. Many professional photographers and regular users still prefer Clipping Boss. Why? First and foremost, we are known for setting industry standards by providing expert photo editing services. our clients across all photography genres.
Because we’ve been in business since 2013. We have extensive experience and a thorough understanding of the services we provide. With each passing year, we gain greater self-assurance and efficiency.
Second, we have a variety of pricing options. Our organization also offers user-friendly registration, 24/7 online support, and quick turnaround.


0 Comments