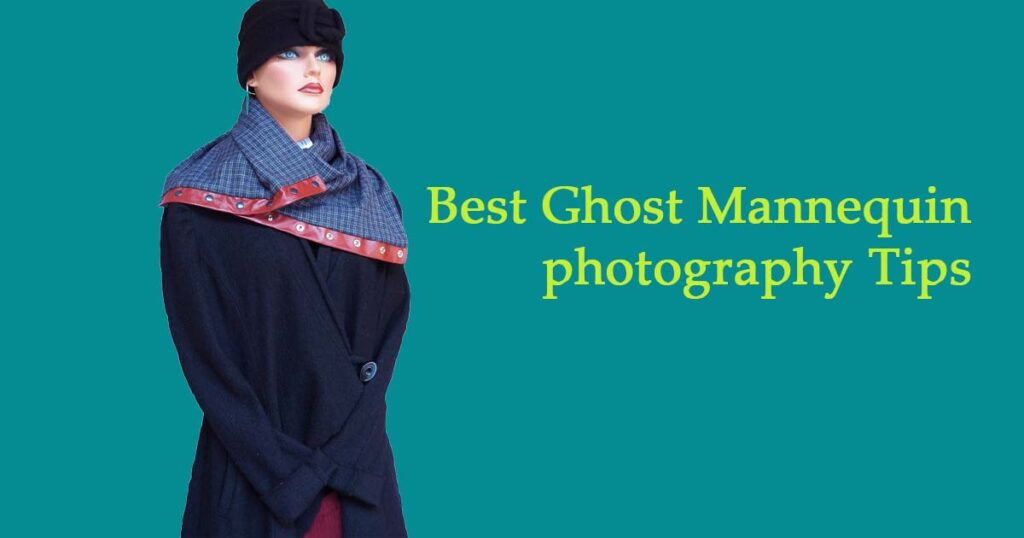
Ghost Mannequin photography is now a trading subject for photographers. Ghost Mannequins for product photos are a cost-effective and efficient approach to showcase your items.
Mannequins help your items to maintain their form, making product photographs appear more professional and consistent, improving their customer appeal.
This style of shot may look tough to replicate at first glance, especially for nonprofessional photographers. It becomes attainable, like most difficulties, when you take each step one at a time.
To get the desired appearance, we’ll use a straightforward method that involves blending two product photos. To make the post-production process more efficient, it’s critical to understand how you should shoot your items.
Learn how to utilize post-production image editing to produce a “ghost mannequin effect”
your e-commerce product photos by following this straightforward step-by-step approach. Ghost Mannequin photography also depends on the photographer’s creativity.
1.Model or Mannequin Selection and Posing
In Ghost Mannequin photography use of models or mannequins to emphasize the distinctive shape. Trying to fit each product is one of the most popular methods in fashion photography.
However, showing the model or mannequin in every photograph isn’t always beneficial. Retailers Can occasionally shoot their items with models. Delete the models and use Photoshop to make the mannequins appear invisible.
Removing models and mannequins can be a challenging skill. Master for smaller stores that conduct the majority of their picture editing themselves.
To create the appearance of a “ghost mannequin” (also known as an “invisible mannequin”). In the first photograph, you Can use a model or a mannequin from various angles. The upside is that you’ll be able to utilize these photos. Or with any “ghost” photographs you make in your product galleries.
If you utilize a real model, sure you employ a static stance like the one shown above.
Your model should also be groomed simply. Or with long hair held back so that it does not hinder the sight of the product. These particulars will make picture editing a lot simpler.
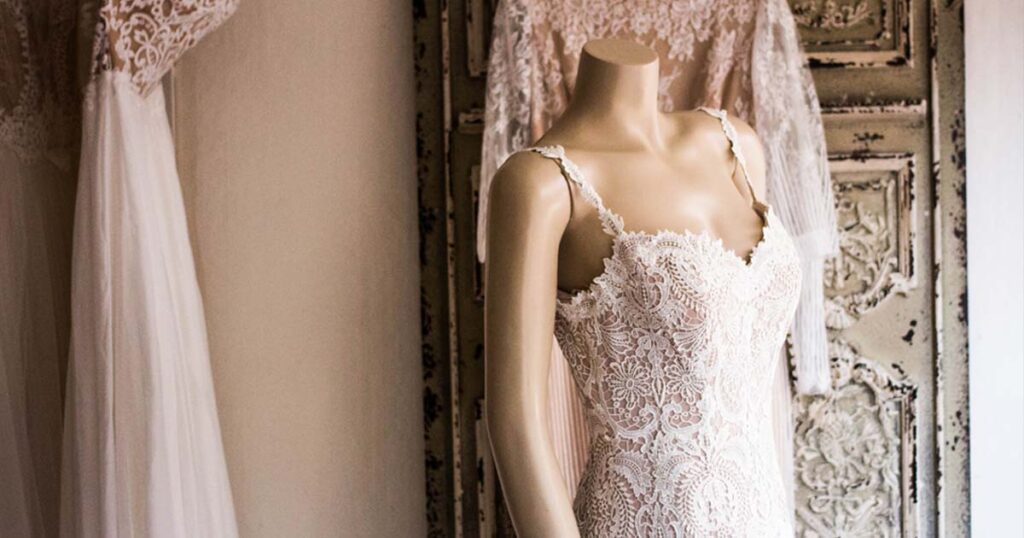
You may select from a large range of mannequins. It Creates Ghost Mannequin photography more shine.
You can get a mannequin with or without arms, hands, legs, or a neckline, depending on your demands. If your mannequin has arms and hands, ensure sure they can be moved out of the way.
Make sure your product fits your mannequin or model by selecting the appropriate size. Or arranging the clothing to fit properly. Also, if your product has sleeves, make sure they are positioned downward so the spectator cannot see them.
2.Setup and Equipment
You must be able to take high-quality images in a studio setting in order to use the ghost mannequin approach.
The poorer the quality of your photographs, the less attractiveness the ghost mannequin effect can provide to them. Depending on the product you’re photographing, camera and lighting techniques, equipment, and placement all play a role. Setting up equipment in the right position is more important in Ghost Mannequin photography.
Check out this expert presentation of ghost mannequin photography by e-commerce picture company Fotoempresas if you need some ideas.
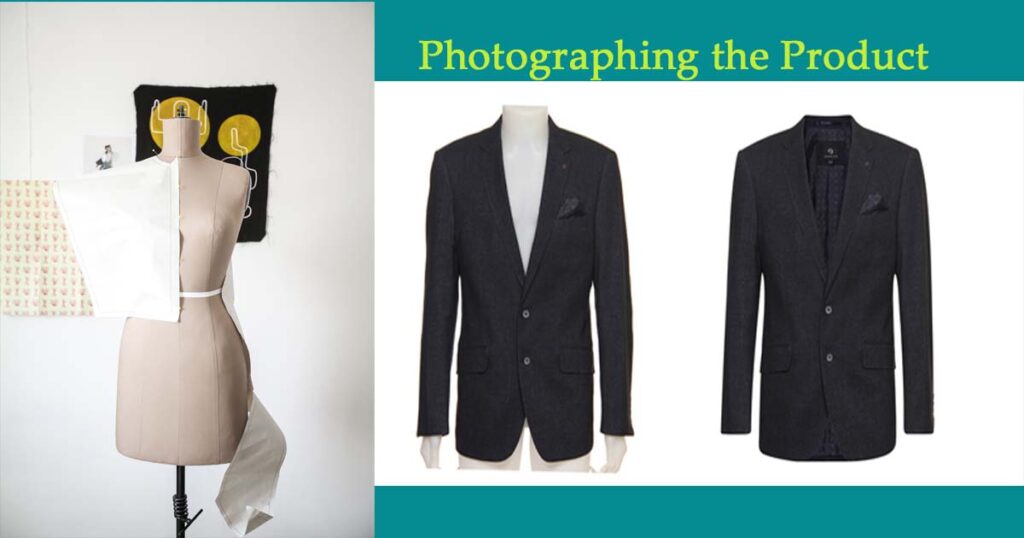
3. Photographing the Product
When shooting shirts, make sure the camera is precisely level with the chest region. The camera should therefore be positioned crosswise from the hip region while photographing bottoms.
Photographing a product from an incorrect perspective, such as too high or too low, can make the garment appear “tapered.”
below are two photographs of a mannequin wearing a tank top. The photos on the right, front, and back, are taken chest height. The shot on the right was taken above chest height, resulting in a favorable view of the merchandise; the one on the left was taken below chest height, resulting in an unflattering view of the goods. Ghost Mannequin photography not only focuses on the product.
Using a telephoto zoom lens to take your photographs can help to reduce distortion. That allows you to get closer to smaller items while moving further away from larger ones.
For invisible mannequin shots, make sure your studio shooting space is large enough to fit your camera and tripod. Or two studio lights and umbrellas evenly spaced on either side of the product, and a backdrop.
Ghost Mannequin photography A Step-by-Step Guide to Post-Processing Images
After you’ve collected the relevant views producing a ghost mannequin effect is actually fairly simple. After that provided you have the right post-production software (for example, Adobe Photoshop) and your merchandise has been photographed properly. You Can hire expert editors to do the editing for you. Or your ghost mannequin photographs ready to market in as little as 24 hours.
If budget constraints force you to perform the modifications yourself. Then follow these seven simple steps to build your own ghost mannequin effect in Photoshop. Now I discuss Ghost Mannequin photography tips.
1. Create layers in Photoshop by opening your files.
To begin, open Photoshop and open both the mannequin and foam board images. Create a new background layer for your mannequin image. when you start Ghost Mannequin photography, these steps are more important.
Fill in the layer with white; when you’re done. This is your overall background. It’s also a good idea to identify your layers so you can distinguish them and stay organized.
2. Select the Product in the Mannequin Image using a Selection Tool
It’s now time to choose a product for your mannequin image. Choose your preferred selection tool: rapid selection, lasso, or magic wand, and zoom in close.
All three can assist you in making your final decision. First, you choose the product clear side to start Ghost Mannequin photography.
Remember that, in most circumstances. A white backdrop allows you to simply remove the mannequin due to the color distinction between the object and the background.
3. Fine-tune and Position Your Mask
Refine your mask so that it is nice and tight, eliminating all of the backdrops. And mannequin once you’ve picked the complete product.
The “Refine Edge”. And the tool in the “Select”. So the menu used for this.
Place a mask on your shirt layer and click “OK” in the “Refine Edge” dialogue box.
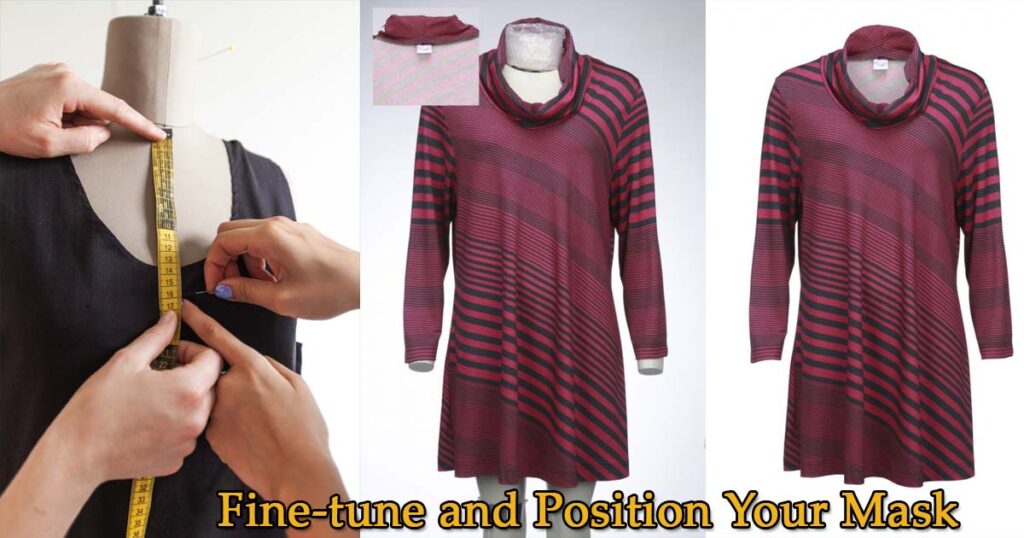
You should now be able to view your product floating freely on the white backdrop you made before.
If required, gently refine the mask and/or the product’s edges to give it a good, clean appearance.
Ghost Mannequin photography also depends on the right position selection.
4. Rinse and repeat with the Foam Board Image the previous steps.
Change gears now and repeat Steps 1, 2, and 3 on your foam board product picture.
This sort of product image may appear unusual at first, but having one to work with is crucial; shooting the object inside-out allows you to reveal the product’s interior back, completing the mannequin illusion.
We guarantee that it will turn out beautifully in the end!
Make a new layer, choose the product, then make and tweak your mask.
5. Put the images together
Drag the mask from your foam board picture across to the image of your ghost mannequin product image when both photos have tight, clean masks.
Arrange the layers so that the foam board picture is on the bottom. And the mannequin image is on the top.
Adjust the location and dimensions of the foam board layer so that it fits exactly behind the mannequin layer. w directly behind the shoulder in a rounded curve. To Create Ghost Mannequin photography, you must add all image layers together for better output.
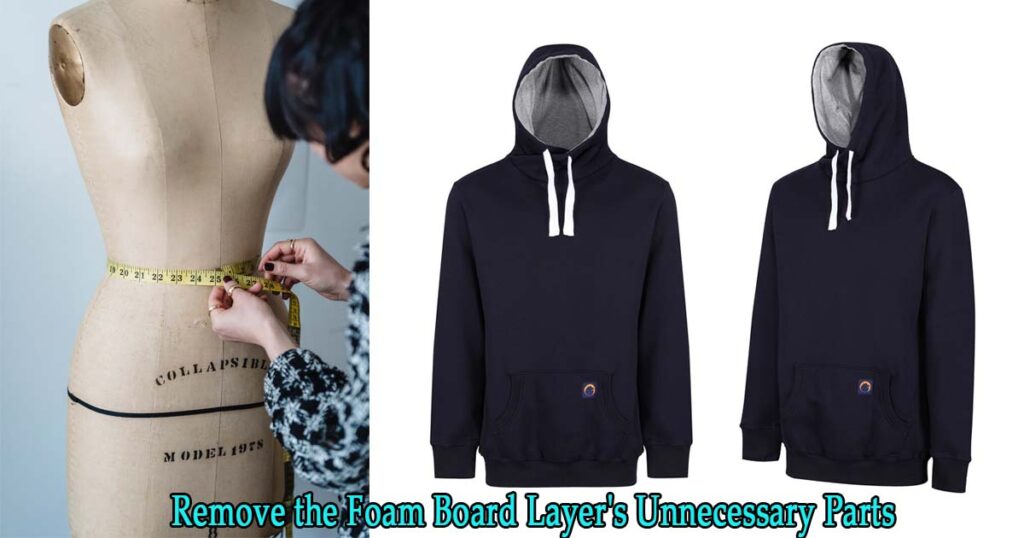
6. Remove the Foam Board Layer’s Unnecessary Parts
It’s a good idea to cover your mannequin layer. This brushes off the areas of the foam board layer that aren’t needed at this time.
All you have to do is keep that neckline triangle between your shoulders. Notice how the string across the back is visible in the video below. Ghost Mannequin photography professionals all-time Create an extra layer for removing all spots.
Because that item is already in place in the mannequin photo, it’s critical to remember to remove it from the foam board image.
After that, double-check that your layers are clean and that nothing is out of place, particularly around the neck and shoulders.
7. Save after adding shadows
Finally, add a shadow between the two levels to provide depth to the product, and make a backup of the Photoshop file with all of the layers intact just in case.
Flatten or merge all of the layers together and save the image as a new file once you’ve saved the layer file. This final stage gives your photograph a professional and realistic appearance. The last part of Ghost Mannequin photography is adding filter and shadow.
The editing is done properly, you obtain a stunning 3D effect like the ones shown below. That can help you improve your product image and increase sales for your online business.
Do you want to watch each of the seven steps in action? For a step-by-step walkthrough of the process, see the video below.
Why is Clipping Boss best for ghost mannequin?
With Clipping Boss’ top-notch ghost mannequin service, we will assist you in adopting the most up-to-date approach to product promotion. Our designers use the most up-to-date photo editing software and cutting-edge technology to ensure that each project is a success. We guarantee you the best possible service, as well as lightning-quick shipping and the lowest possible price. With over 9 years of experience in the photo post-production industry. Clipping boss believes your project will allow us to further our reputation. We intend to make ourselves the success margin for our competitors in this competitive market.

0 Comments